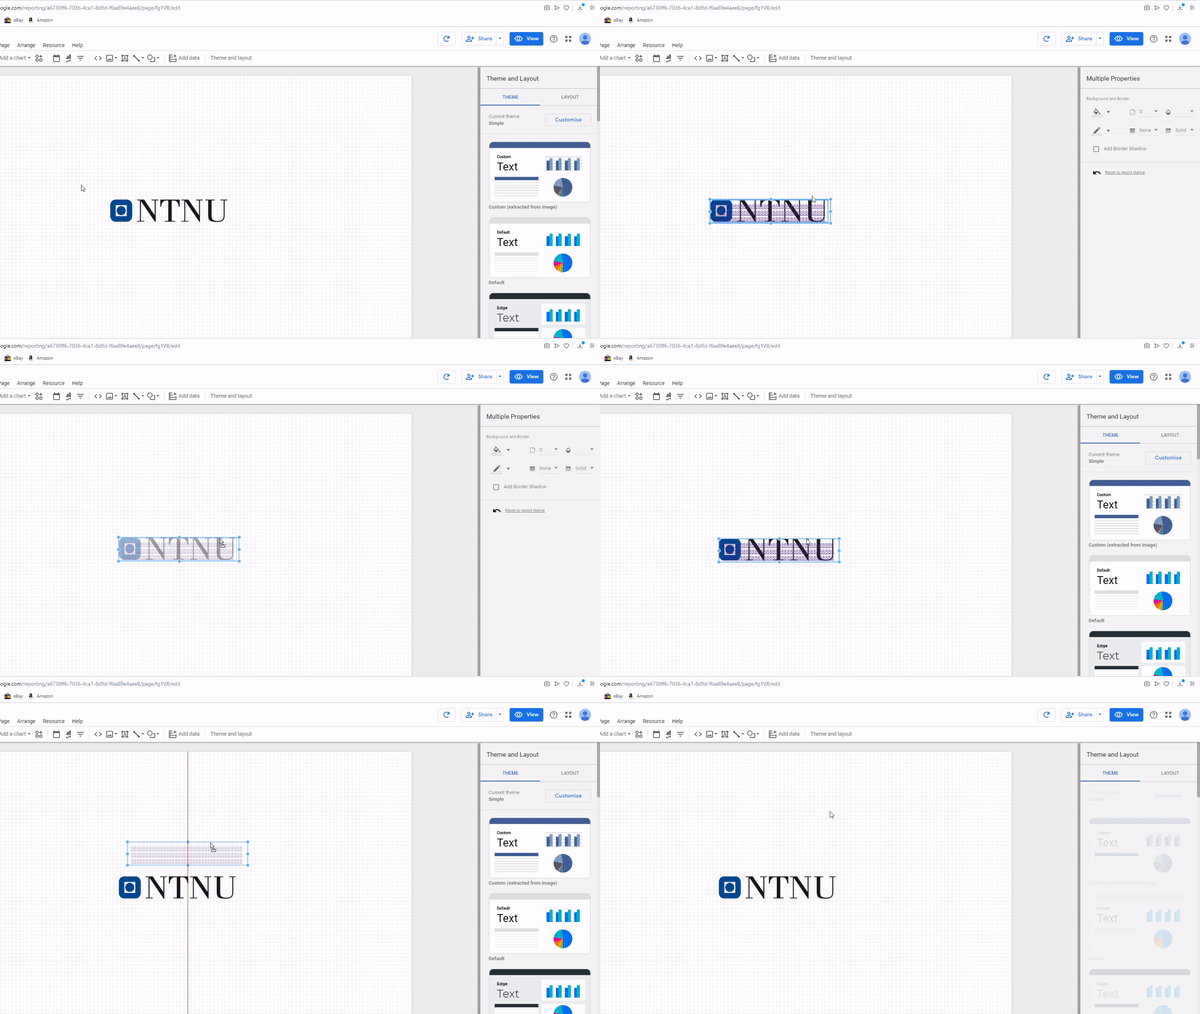
In the first example we will enable the viewer to click on a logo, in order to view their webpage. Our chosen logo and webpage will both represent NTNU, but this method could of course be applied using any image, text box or similar.
- First, insert the image to your page.
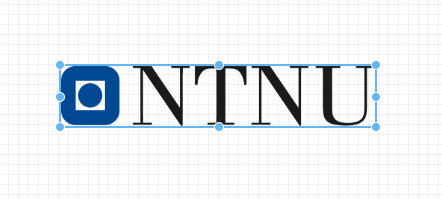
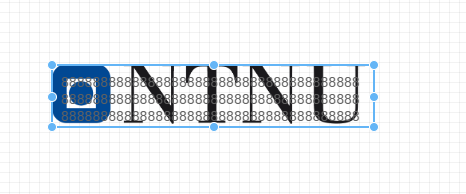
- Next, make a text box just large enough to cover your image, and fill it with a letter or number, e.g. "8".
- Now, highlight the text and choose Insert Link in the Text Properties.
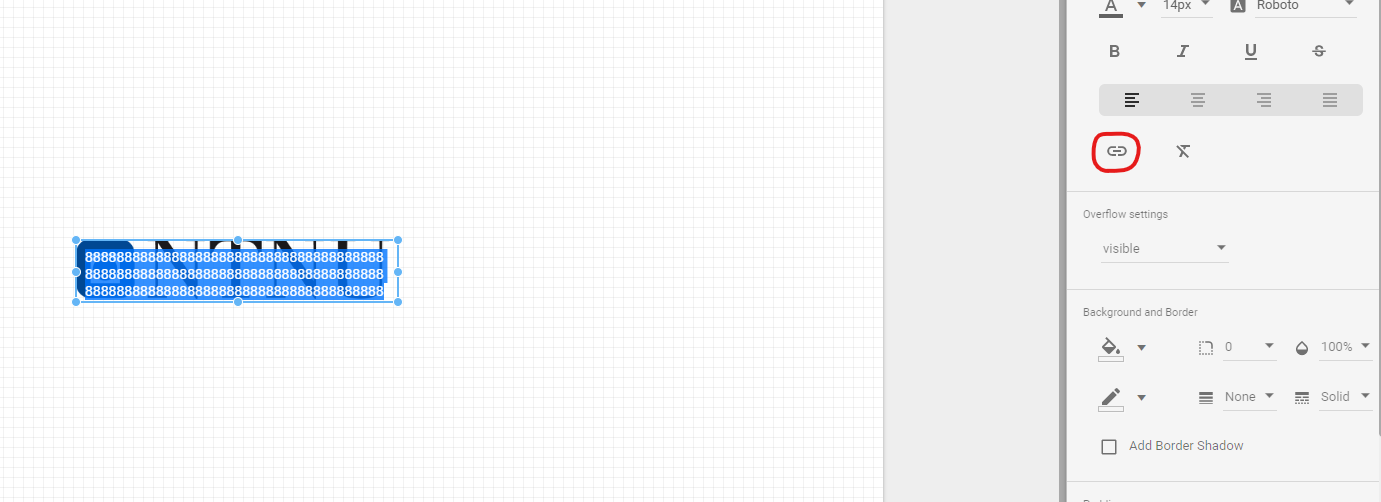
- Insert your chosen link, and if desired, check the box for Open link in new tab. Click Apply.
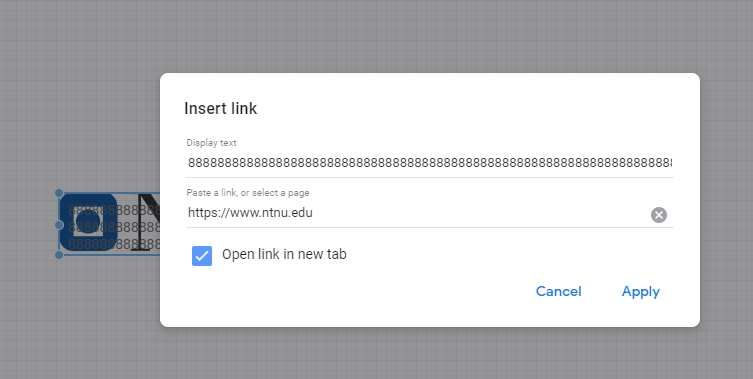
- Now the link is inserted. To test it, enter view mode and click on the image. However, we now have a bunch of 8's covering our image. To bypass this, change the Opacity of the text box with 8's to 0% (making it completely transparent).

- Your very first button is now finished! To give it a test, enter view mode and click on it.
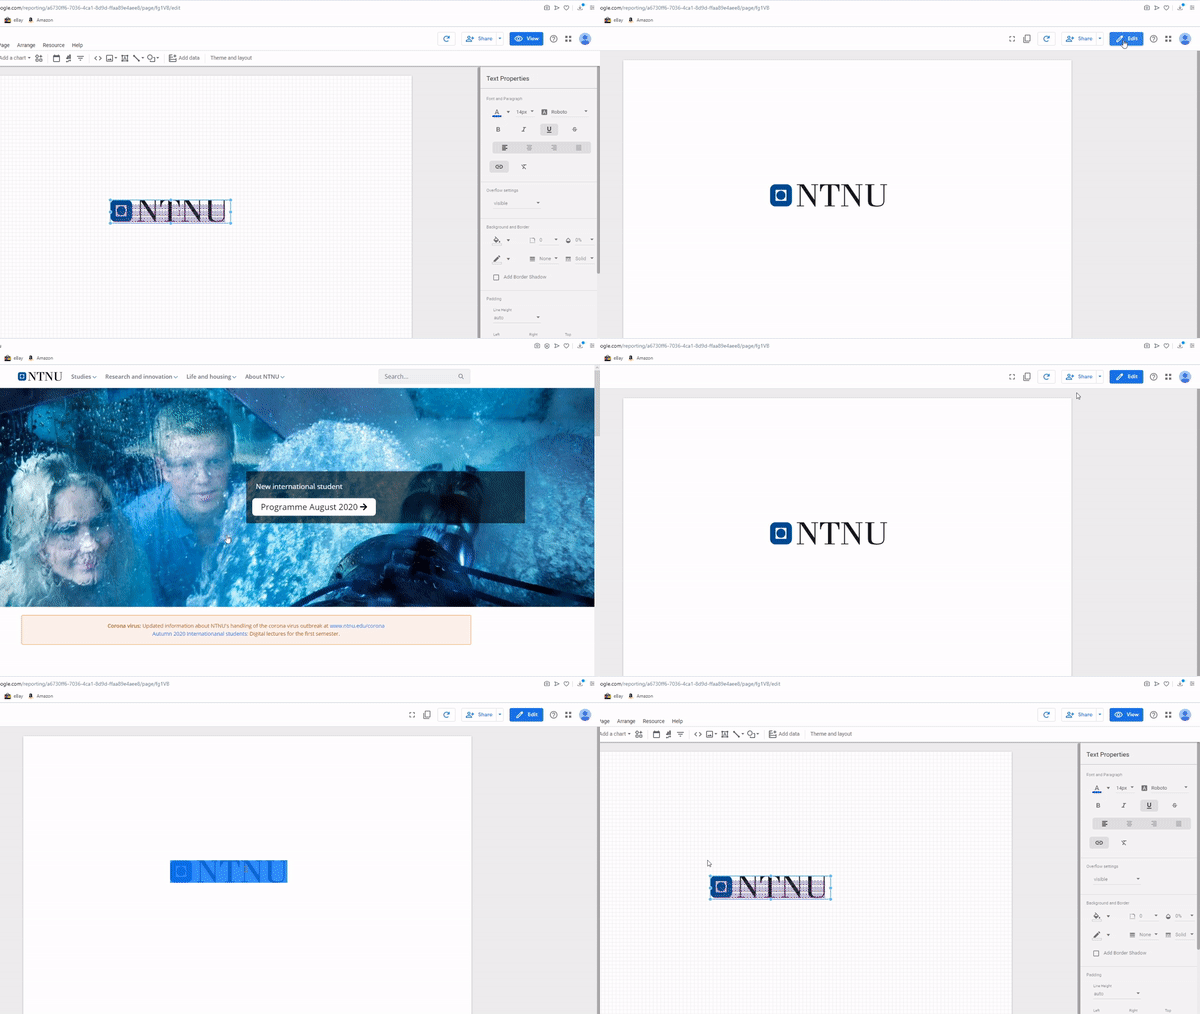
- Pro tip: When moving the button, remember to select both layers (the image/text and the transparent link) at once. This makes it a lot easier to move the button without having to think about perfectly reloacting them at the new location.
