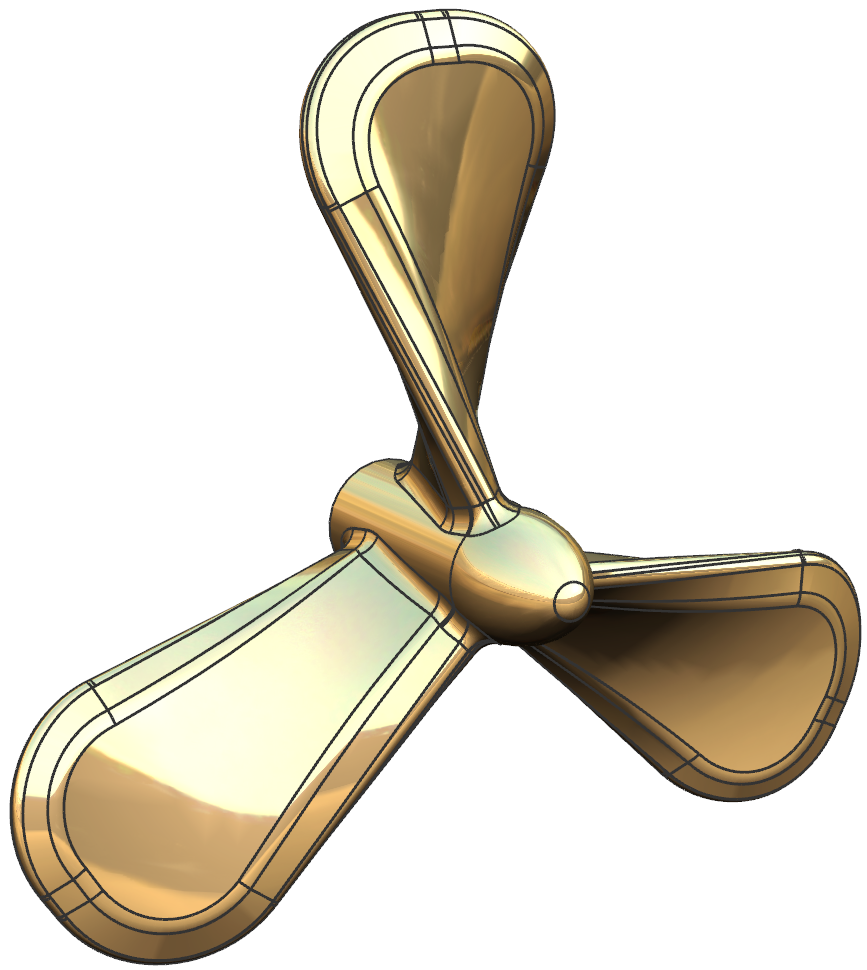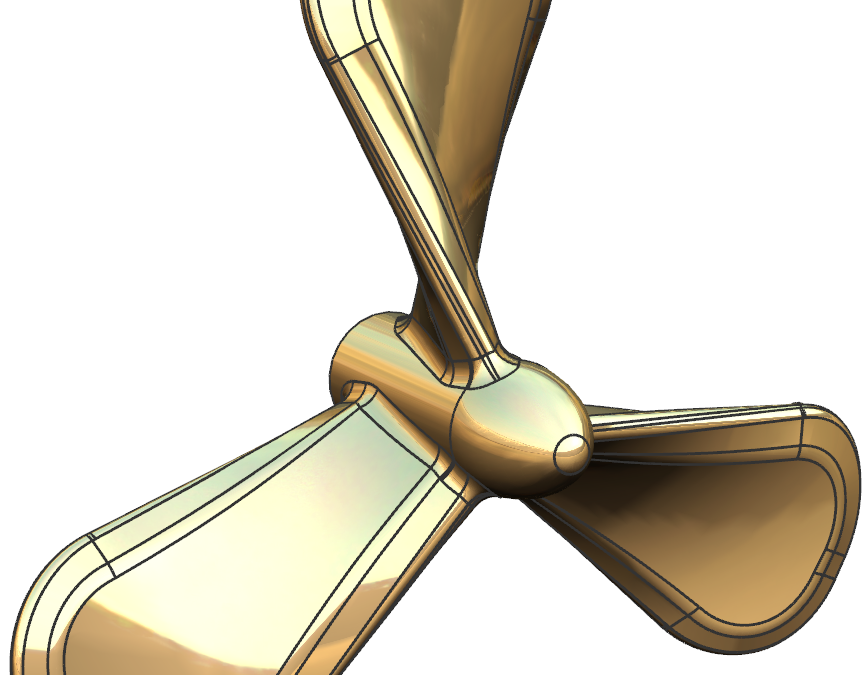
Propeller design for 3D-Printing
Exact 3D-modelling of propellers can be a cumbersome process. The purpose of this post is to describe a simple method to design a fan like 3D-printable propeller to use in DIY-projects and prototypes like small ROVs, boats, toys etc. We will start with modelling one propeller blade and then copy geometry when we are satisfied with the design and shape. By creating two straight lines slightly twisted in different work-planes, it is possible to create a surface and use this as a base for our propeller blade. In the example below we will mostly use exact values, but feel free to experiment with propeller dimensions, pitch angle and other settings.
Creating the construction lines
- Create a new part and save it into you project folder.
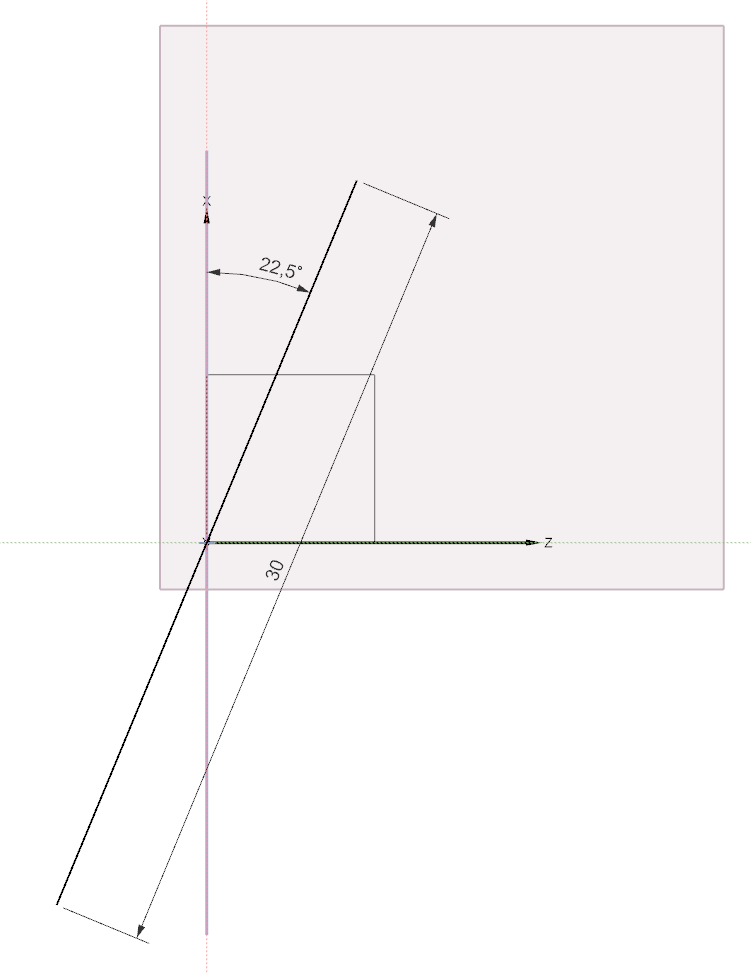
- Create first sketch in the XZ-plane and create one single 30mm long horizontal line.
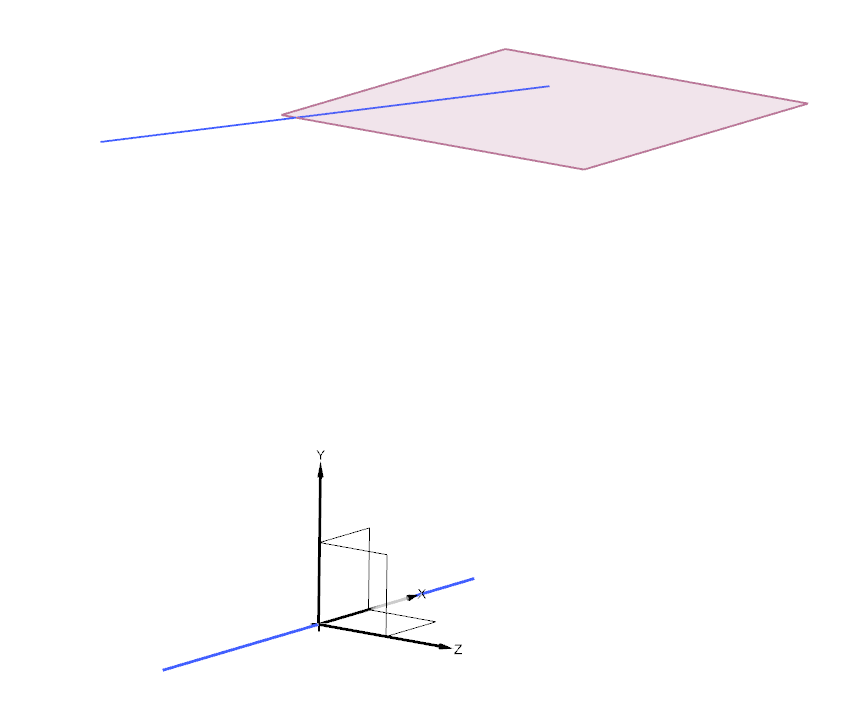
- Create a datum plane 30mm above the XZ-plane
- Create a second sketch on the datum plane and a line slightly angled from the line in the first sketch


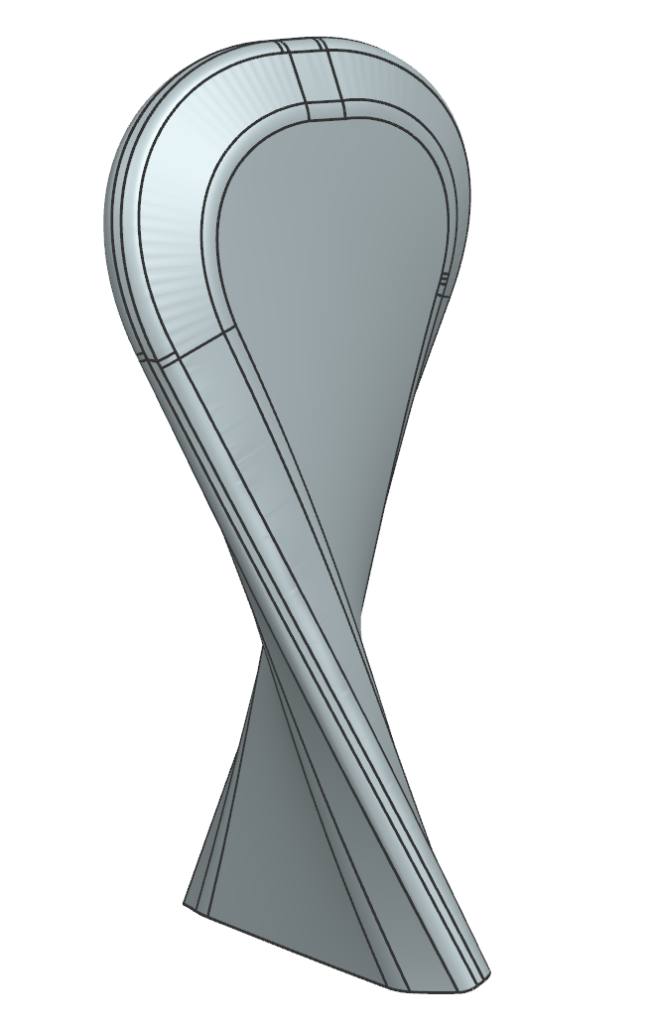
Creating the surface
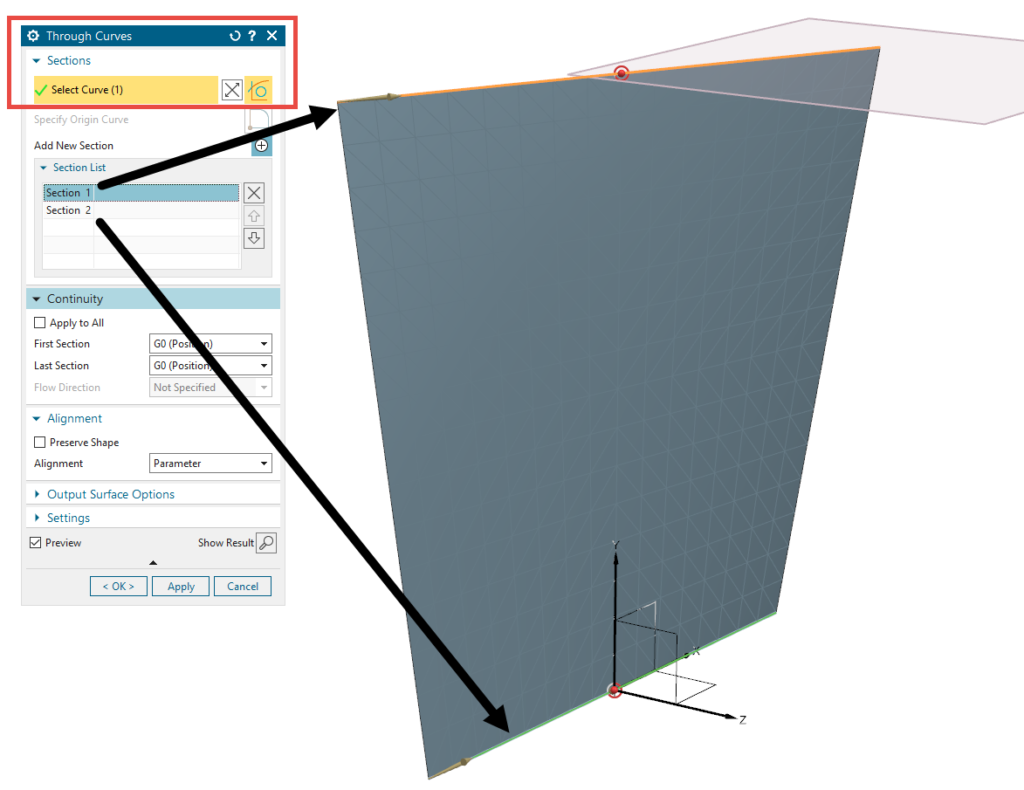
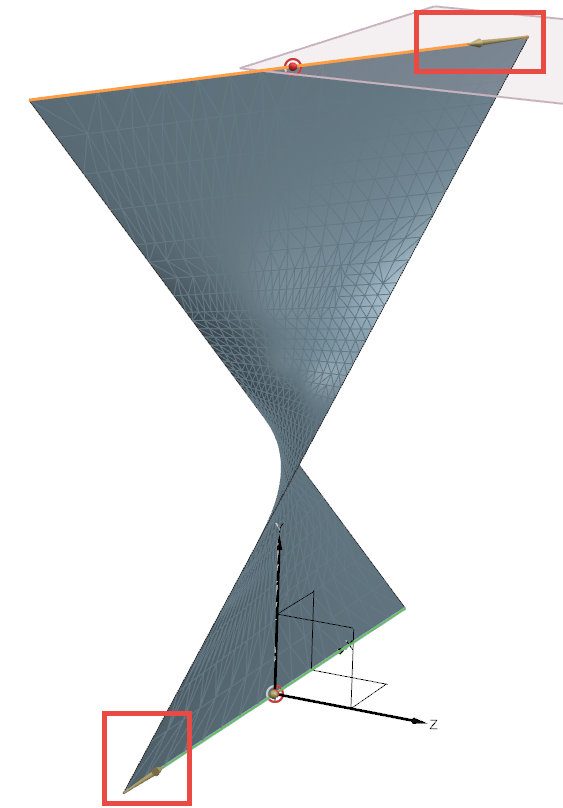
Create the propeller blade surface by using Through Curves command. Make sure you two sections in the Section List. Each section (selection) should contain only one curve. Surface preview shows up immediately. If the surface(s) are twisted, double click on the brow arrows to change the curve direction vector.
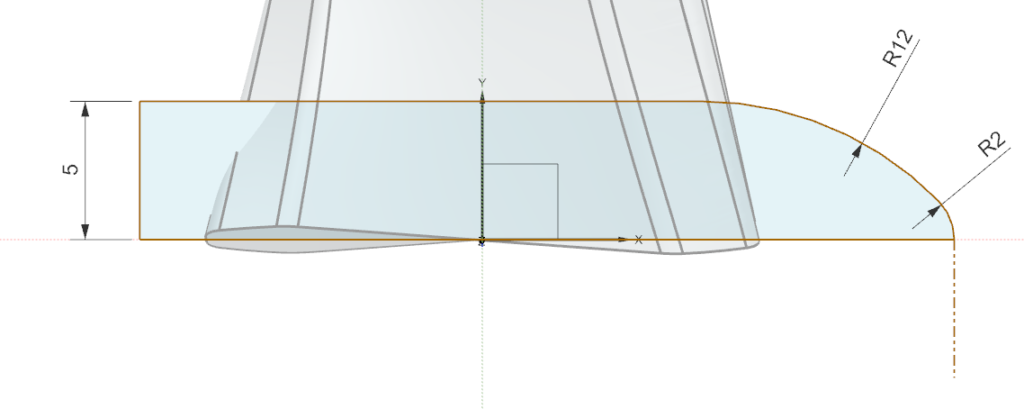
Shaping the propeller blade
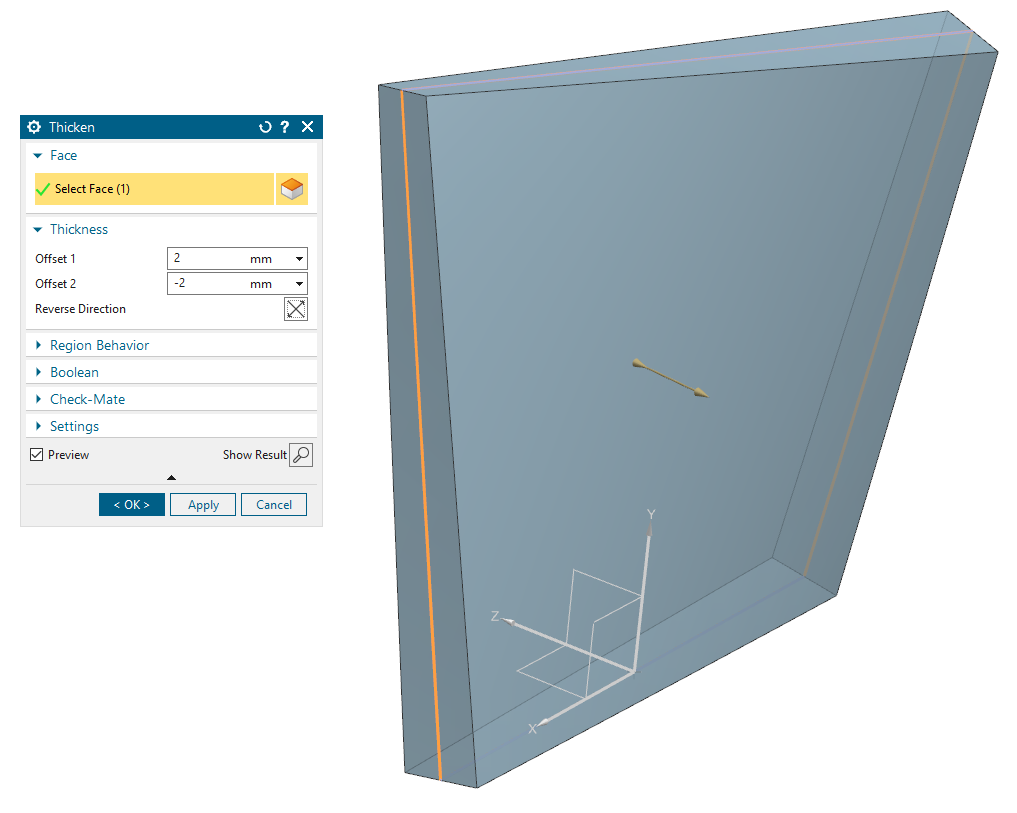
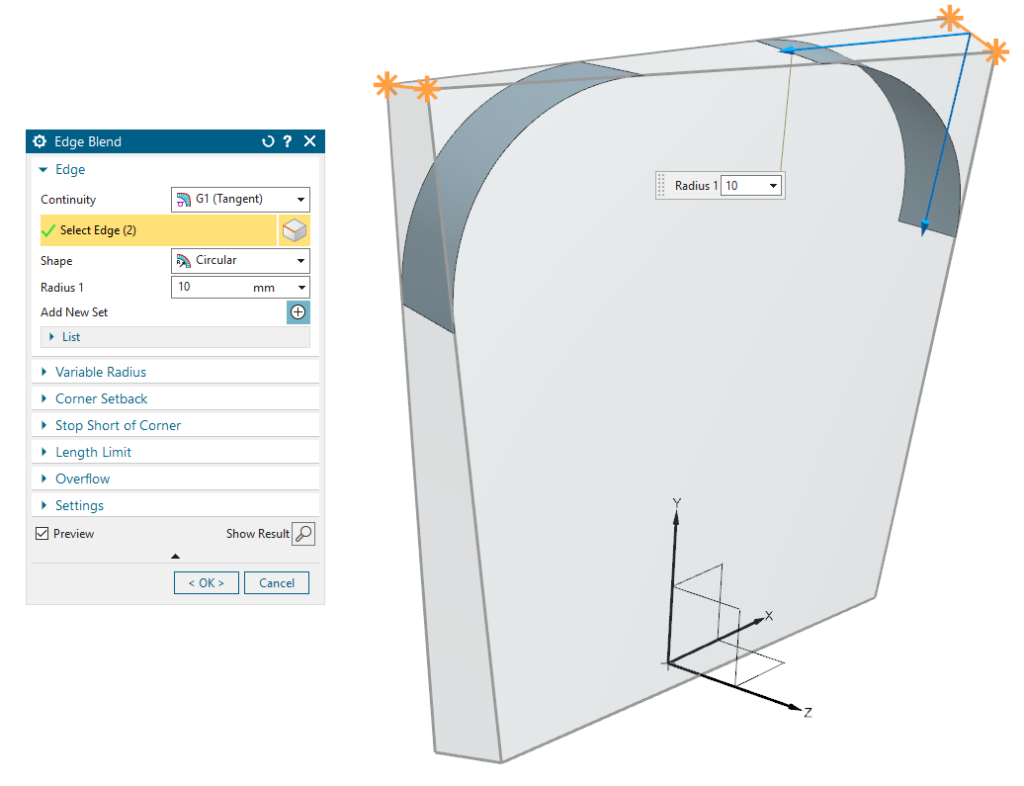
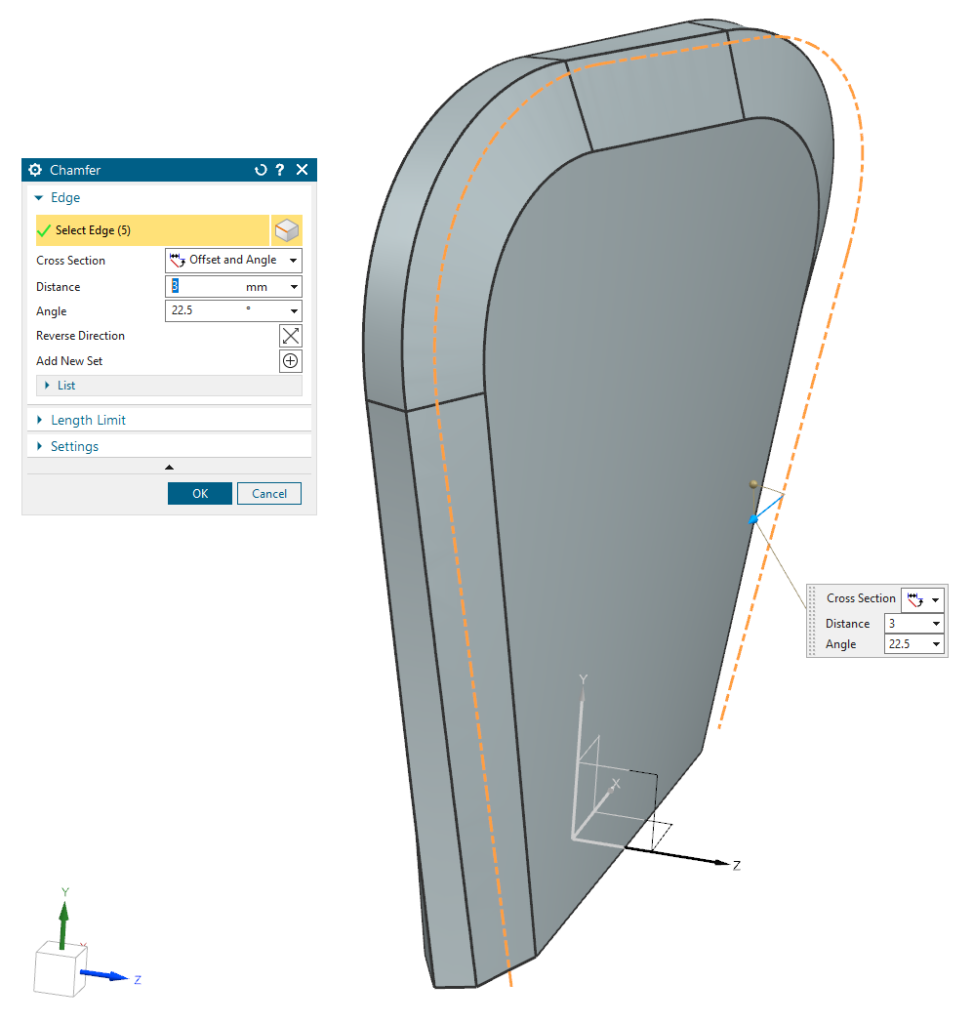
Use Thicken to add thickness to the surface and Edge Blend and Chamfer to round and sharpen the edges. Modify parametes in your model to get the propeller blade shape you want.
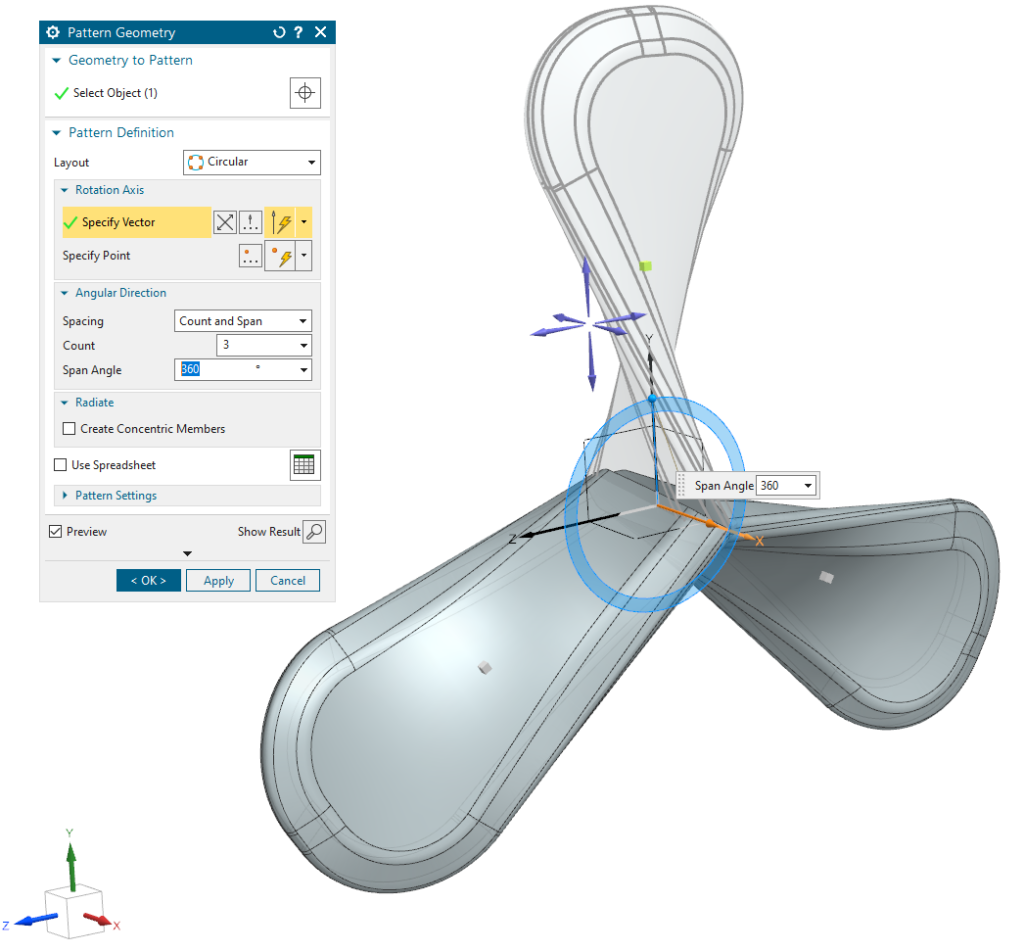
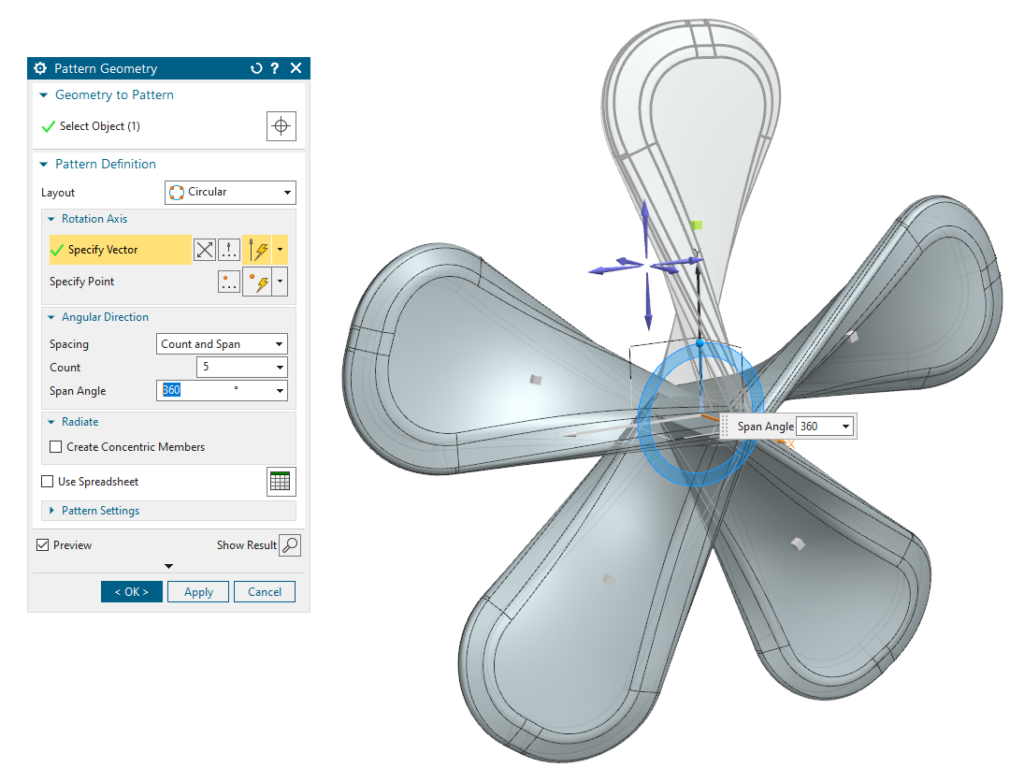
Completing the propeller geometry
Use Pattern Geometry and circular pattern layout to copy the propeller blades around the rotation axis. Create a sketch for the propeller hub and Revolve the sketch around rotation axis. Unite all solid bodies and add final edge blends.